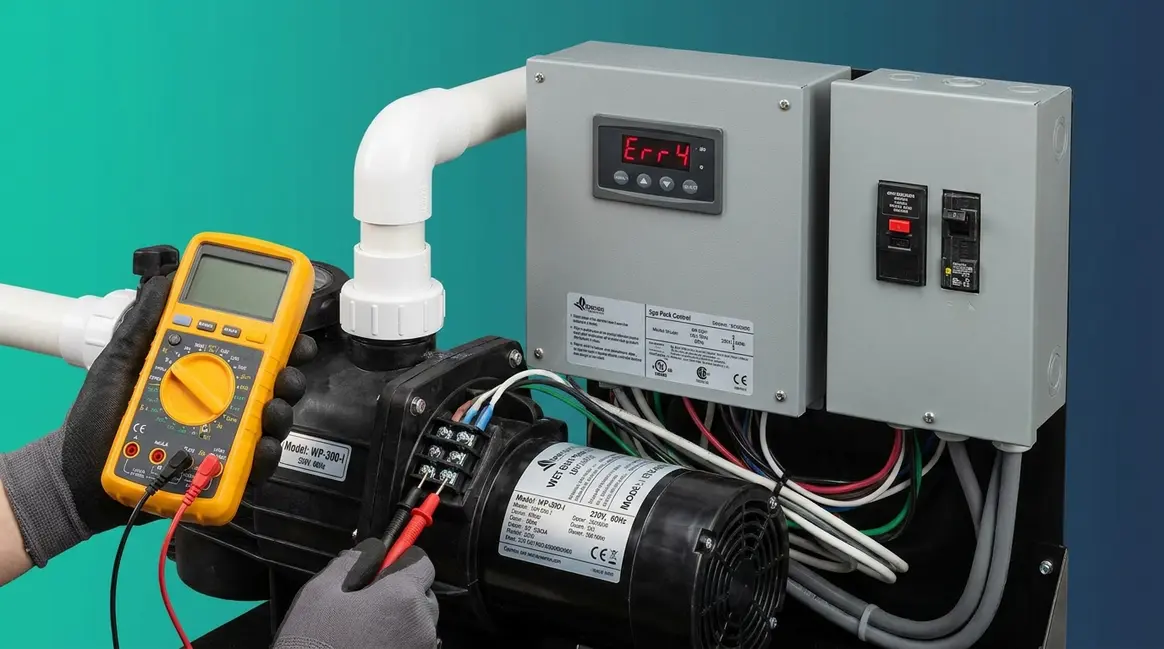
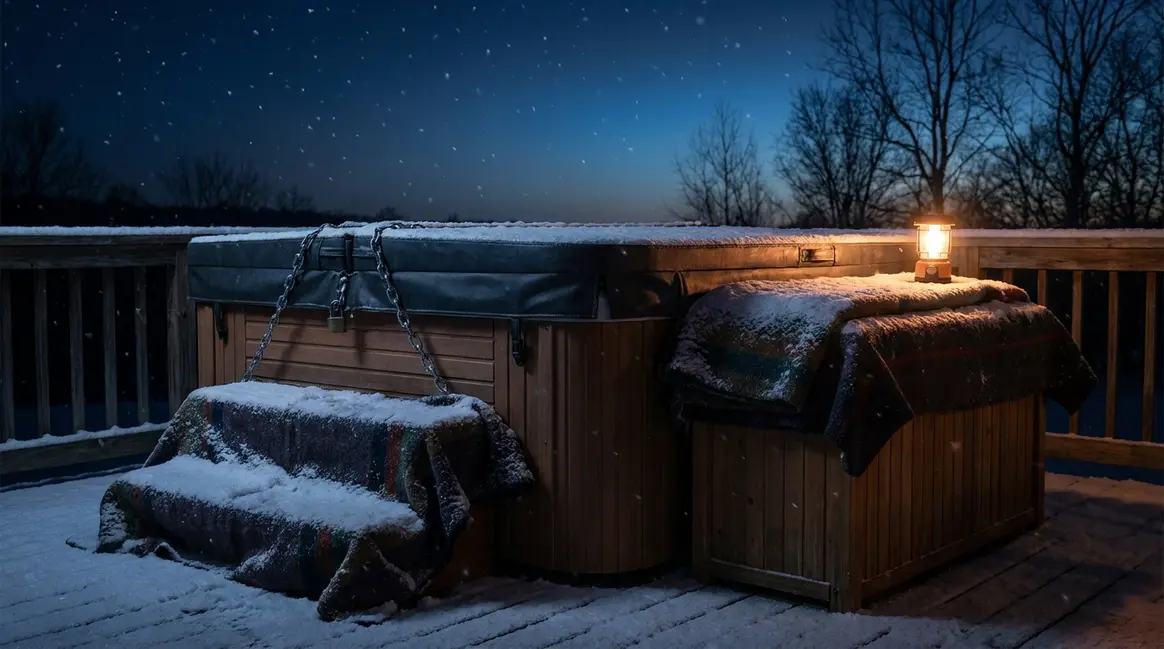
What’s in this guide
- Before You Start: Know Your Freeze Risk
- Phase 1: Immediate Actions in the First 48 Hours
- Phase 2: Active Heating Beyond 48 Hours
- Phase 3: Emergency Draining (Last Resort)
- Phase 4: Safe Hot Tub Restart Procedure
- Common Mistakes That Can Make Things Worse
- Frequently Asked Questions
- Protecting Your Investment Before the Next Outage
Home ›Maintenance And Troubleshooting
The power just went out, the temperature is dropping, and you’re staring at your hot tub wondering how long you have before the pipes freeze. That dread of waking up to catastrophic pipe damage is legitimate — but you have more time than you think, and a clear plan to follow.
“I’m nearing 24 hours with no power. Any info on how to proceed to keep my hot tub from freezing and ruined?”
— Hot tub owner, r/hottub community
This is exactly the situation this guide was written for. Below, you’ll find a phase-by-phase emergency plan for how to keep hot tub from freezing during power outage — from immediate no-cost actions in the first hour to the last-resort draining procedure. The plan is organized around four phases and a prerequisites section that tells you which phase applies to your situation right now.
Key Takeaways: How to Keep Hot Tub From Freezing During Power Outage
A well-insulated hot tub can hold enough heat to prevent freezing for 2–3 days in moderate cold — but that window shrinks fast below 20°F. Follow The 48-Hour Rule: passive heat retention for the first 48 hours, active heating beyond that, and emergency draining only as a last resort.
- First priority: Keep the cover closed and locked — do not open it for any reason during the outage
- Beyond 48 hours: Add a low-wattage ceramic heat source inside the equipment cabinet (safely)
- Last resort only: Drain completely and blow out the lines with a wet/dry vacuum
- When power returns: Inspect for freeze damage before restarting — never power on a system that may be frozen
Before You Start: Know Your Freeze Risk
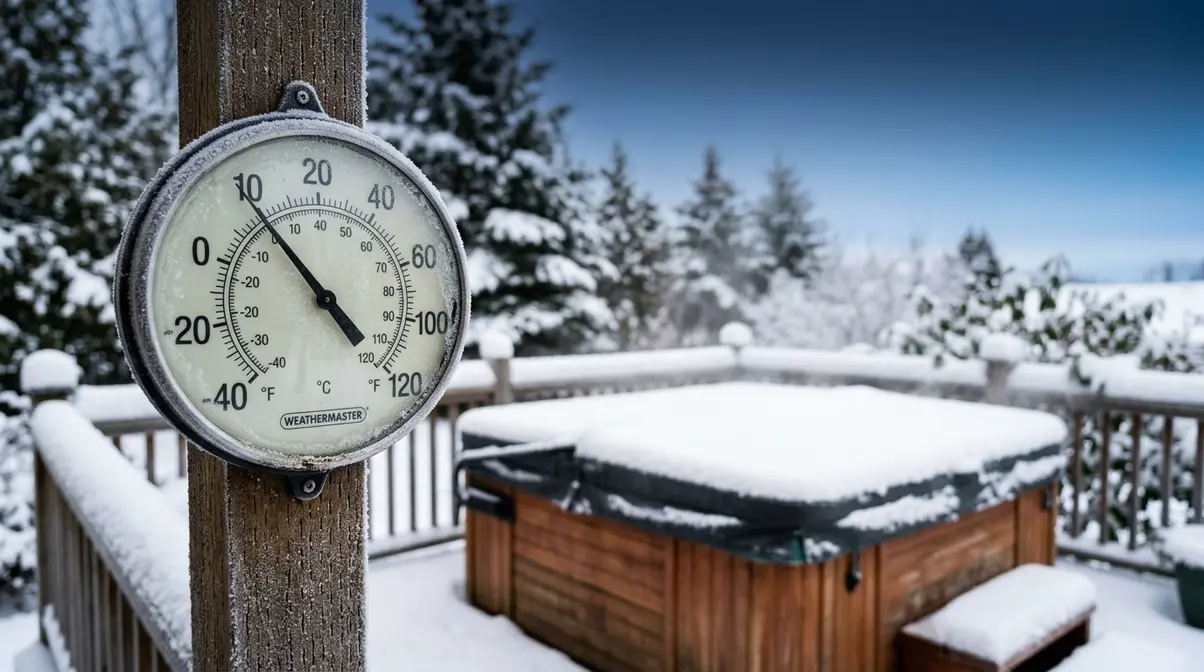
Before taking any action, you need one piece of information: how much time do you actually have? The answer determines whether you need Phase 1, Phase 2, or Phase 3 right now — and getting that calibration wrong in either direction wastes time or creates unnecessary risk.
Time Before a Hot Tub Freezes
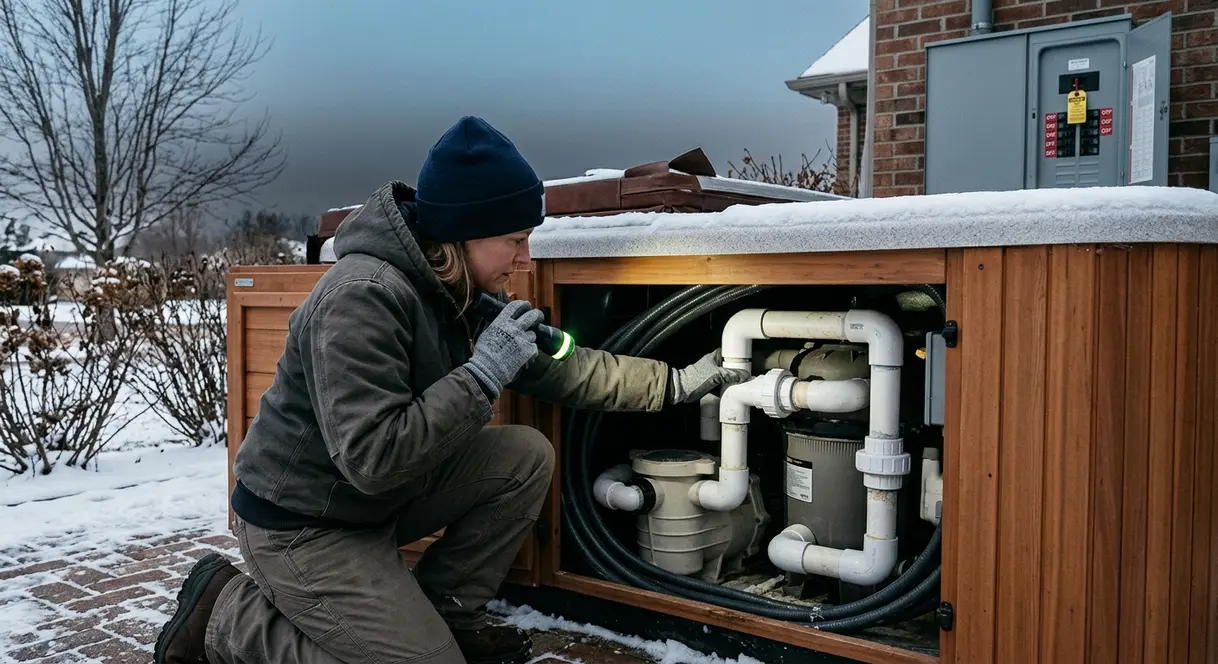
How long can a hot tub go without power before freezing? A well-insulated hot tub can go 2–3 days without power before the water risks freezing in temperatures above 20°F (−7°C). Below 20°F, that window shrinks to 24 hours or less. The exact timeline depends on your cover’s seal quality, the ambient temperature, and how well your equipment cabinet — the exterior housing that contains your pumps, heater, and plumbing — is insulated. The U.S. Department of Energy notes that a well-insulated hot tub with a high-quality, tight-fitting cover can retain heat for several days during a power outage, dropping only a few degrees per day.
Time-to-Freeze Estimates by Ambient Temperature
| Ambient Temperature | Estimated Time to Freeze Risk | Recommended Action Phase |
|---|---|---|
| Above 20°F (−7°C) | 48–72 hours | Phase 1 (passive retention) |
| 10–20°F (−12 to −7°C) | 24–48 hours | Phase 1 + monitor for Phase 2 |
| Below 10°F (−12°C) | Under 24 hours | Phase 2 immediately; evaluate Phase 3 |
| Below 0°F (−18°C) | 8–12 hours | Phase 3 — drain without delay |
These are estimates for well-insulated modern hot tubs with intact covers. Older tubs with worn or warped covers may freeze significantly faster. Consult your owner’s manual for model-specific guidance.
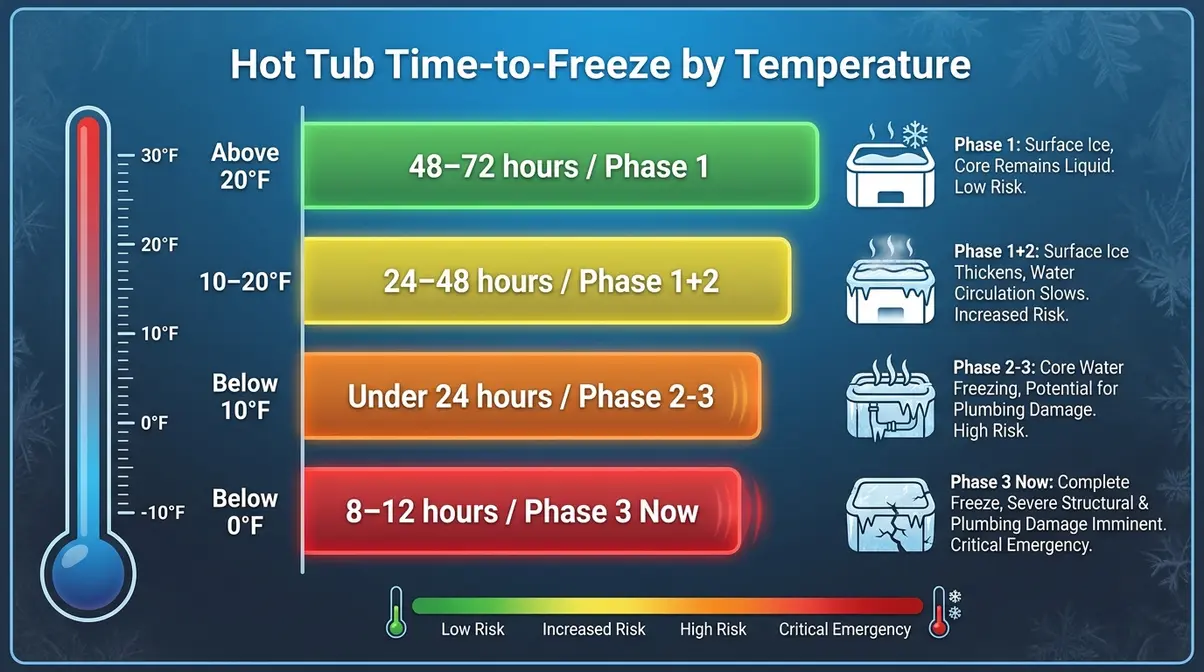
Introducing The 48-Hour Rule
Use The 48-Hour Rule to decide your response: if your outage is under 48 hours and temperatures are above 20°F, passive heat retention (Phase 1) is sufficient. If either threshold is crossed — time exceeds 48 hours OR temperature drops below 20°F — escalate to Phase 2 or Phase 3. This framework is the backbone of every decision in this guide.
Two variables matter most: your cover’s condition and the outside temperature. A cracked or warped cover that no longer seals tightly can cut the safe passive window nearly in half. If your cover is visibly damaged, treat your situation as one temperature tier colder than the actual reading.
Now that you know your timeline, here is exactly what to do — starting with the immediate steps you should take in the first 48 hours.
Phase 1: Immediate Actions in the First 48 Hours
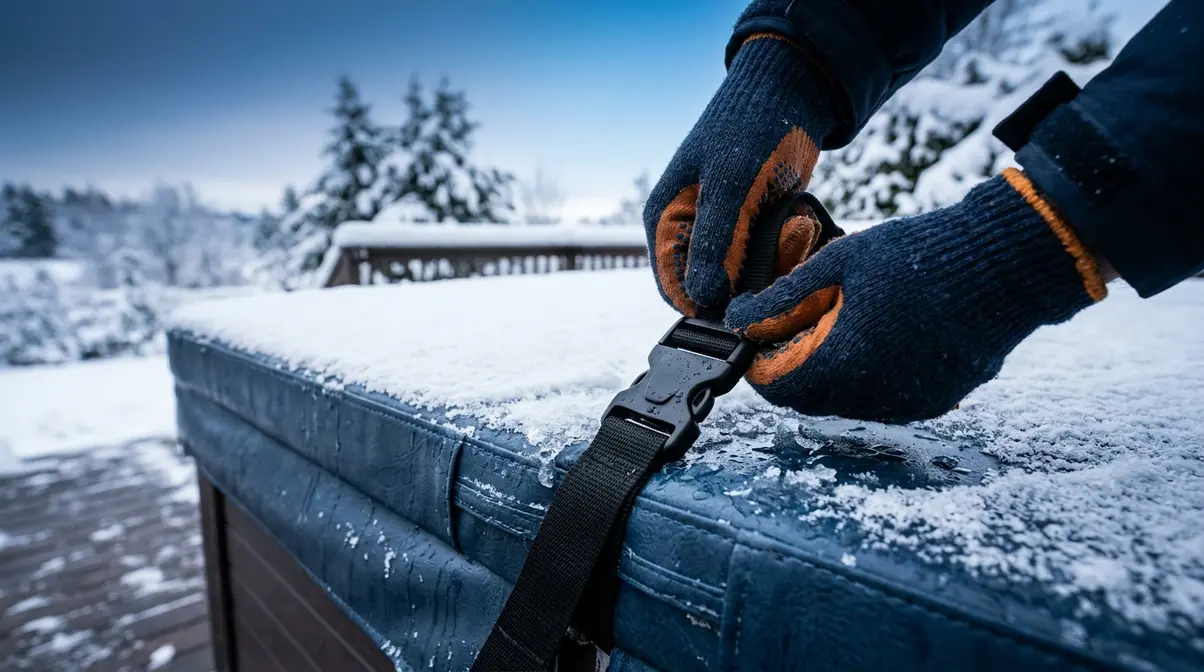
Knowing how to keep hot tub from freezing during power outage starts with one rule: do not open the cover. The steps below require no special equipment and can be completed in under 15 minutes. Follow them in order — they are ranked by impact, with the highest-value actions first.
These steps are the foundation of The 48-Hour Rule’s first phase — passive heat retention that costs nothing and buys you the most time. Hot tub technicians consistently recommend executing all eight steps within the first hour of a power outage, before temperatures have had a chance to begin dropping inside the shell.
Steps 1-3: Secure Cover & Lock In Heat
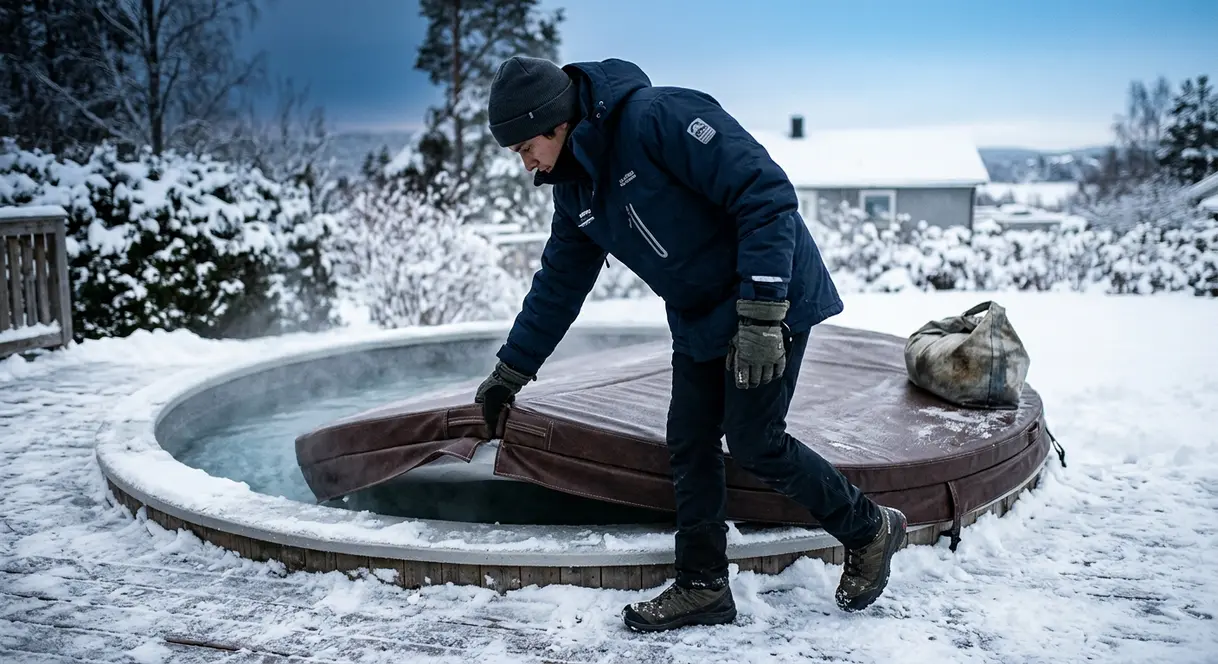
Opening the hot tub cover during a power outage is the single fastest way to lose heat — a closed, locked cover is your most important freeze-prevention tool. According to the Leslie’s Pool winter care guide, keeping the cover closed and locked is the most critical immediate action during a power outage in freezing conditions. Complete these three steps first:
- Close and lock the cover immediately. If the cover is not already down, close it now and engage every locking strap. The water inside your tub may be at or near 100°F — that thermal mass is your primary defense. A closed cover traps that heat and slows loss to a crawl. Knowing how to keep your hot tub from freezing in winter starts here: never sacrifice that insulation layer voluntarily.
- Check the cover’s seal along the entire perimeter. Walk around the tub and press down on any edges that feel loose or raised. If the cover is warped or has a gap, place heavy objects — sandbags, weighted boards, or large rocks — along the edges to improve contact. Even a one-inch gap bleeds heat continuously.
- Do NOT open the cover for any reason until power is restored. Even a brief inspection lets a significant amount of heat escape. Each time the cover is lifted, the water temperature drops measurably — and every degree matters when pipes are at risk. Resist the urge to “check on” the water.
Practical note: If you have a thermal spa blanket — an insulating sheet that floats on the water surface inside the cover — deploy it now. It adds a second insulating layer between the water and the cover, meaningfully slowing heat transfer.
With the cover secured, the next priority is protecting the most vulnerable part of your hot tub — the equipment cabinet where your pumps and plumbing live.
Steps 4-5: Insulate Equipment Cabinet
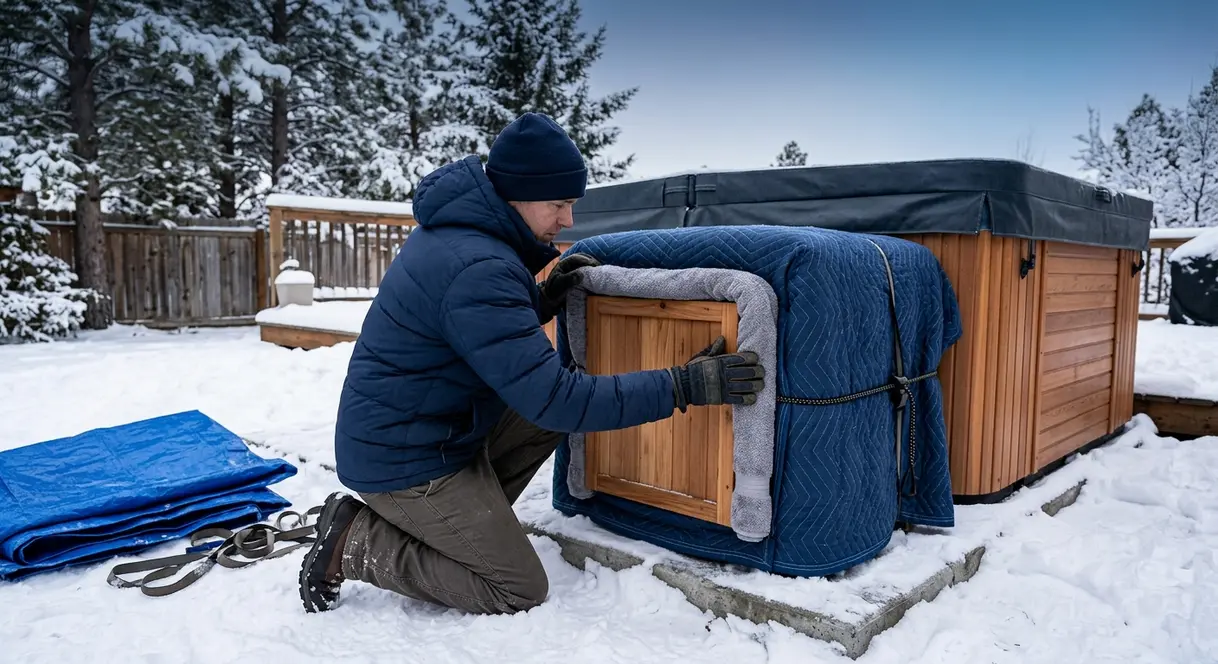
The equipment cabinet, also called the equipment bay, houses the components most vulnerable to freezing: the pump motors, heater manifold, and all jet plumbing connections. Field reports from owners who have experienced freeze events confirm that the majority of catastrophic pipe damage originates in this uninsulated exterior compartment — not in the water shell itself. Wrap it now.
- Wrap the equipment cabinet with heavy blankets, moving pads, or sleeping bags. Focus on the access panel side and any exposed exterior surfaces. Do not block ventilation points if the unit has any battery-backup components still running. The cabinet’s exterior is typically uninsulated — even a single layer of moving pad material creates a meaningful thermal buffer around your pumps and pipes.
- Seal any gaps around the cabinet access panels. Use rolled towels, foam weatherstripping, or duct tape to close the gaps around panel edges. Cold air infiltration through these gaps is a significant and often overlooked heat loss factor for the equipment bay. If you have a tarp, drape it over the entire cabinet and weight the edges against wind — this prevents wind chill from accelerating heat loss beyond what temperature alone would cause.
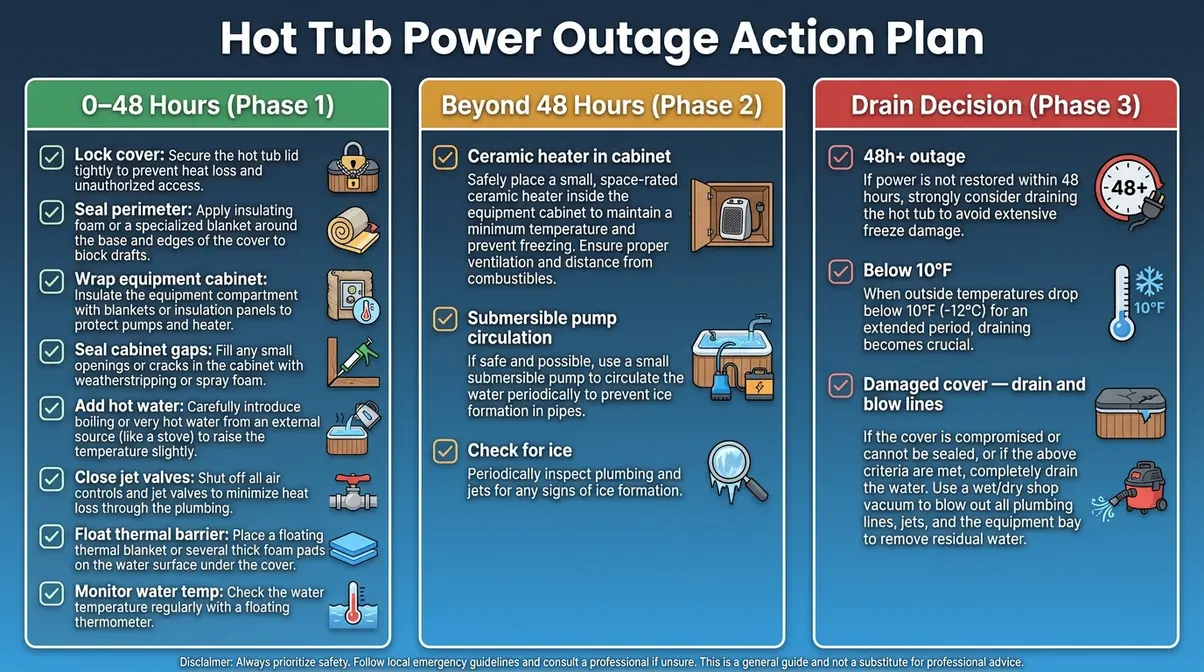
The cover and cabinet are secured. Now, if you have access to hot water, one final passive step can add meaningful thermal mass to your tub’s defense.
Steps 6-8: Maximize Passive Warmth
These final three steps extend your passive heat retention window using resources most homeowners already have. None require special equipment.
- Add hot water from indoor taps. If the power outage has not affected your water heater — gas water heaters typically operate without electricity — add hot water to the tub using a garden hose or buckets. Even 20–30 gallons of 120°F tap water raises the overall thermal mass of the tub, extending the time before the bulk temperature drops to a dangerous level. Do NOT drain any water out first. You want maximum water volume for maximum heat retention.
- Close jet valve openings where possible. On some models, partially closing the jet valves reduces the surface area exposed to air inside the shell. This is model-specific — check your owner’s manual. If you’re unsure, skip this step rather than risk accidentally opening a drain.
- Place a floating thermal barrier on the water surface. If you don’t have a spa thermal blanket, clean bubble wrap or a foam camping pad cut to fit the water surface works as a temporary secondary insulating layer. This is not a permanent solution, but it slows surface heat loss meaningfully during the first 24 hours.
⚠️ Safety Note: Do not add automotive antifreeze or any non-spa chemical to the water. Automotive antifreeze contains ethylene glycol, which is toxic and will corrode the spa’s plumbing system. Non-toxic RV antifreeze — a propylene glycol-based solution — is the only antifreeze safe for hot tub plumbing, and it is used only during a full drain procedure (Phase 3), never added to filled water.
If the outage extends beyond 48 hours — or temperatures drop below 20°F — passive retention alone will not be enough. Phase 2 introduces active heating methods to keep your pumps and pipes warm.
Phase 2: Active Heating Beyond 48 Hours
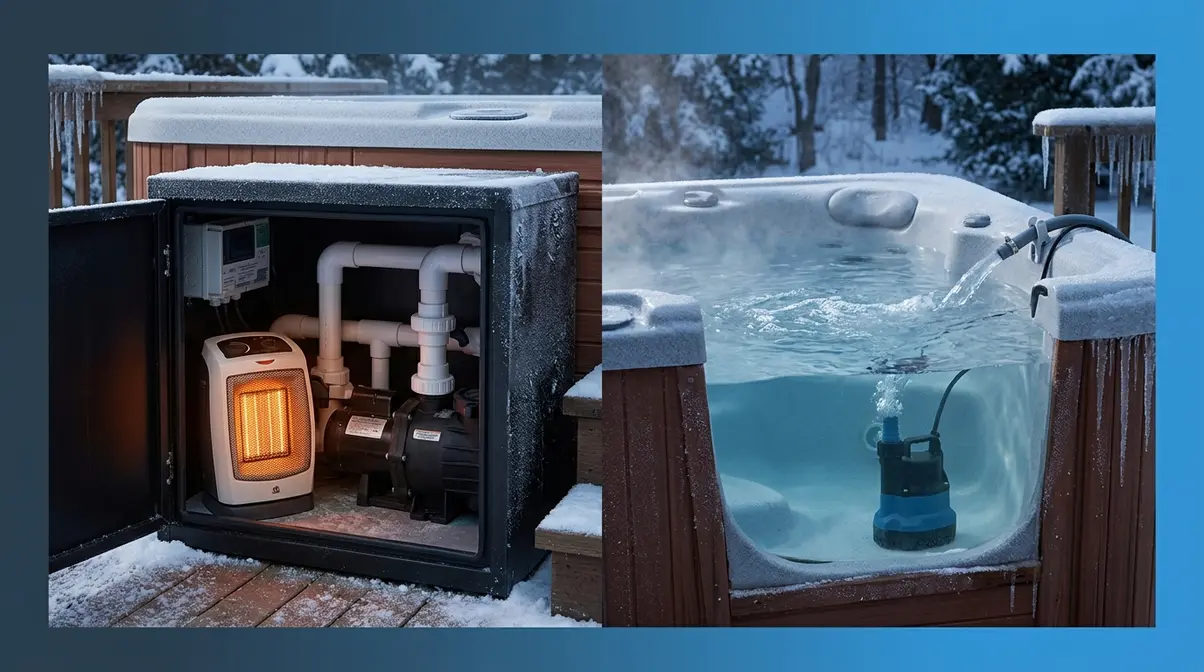
When figuring out how to keep hot tub from freezing during power outage that extends beyond 48 hours, passive measures alone are insufficient and active intervention is required. Phase 2 is triggered by The 48-Hour Rule: when either the 48-hour threshold or the 20°F temperature threshold is crossed. The two methods below are the most practical and widely recommended by hot tub service professionals.
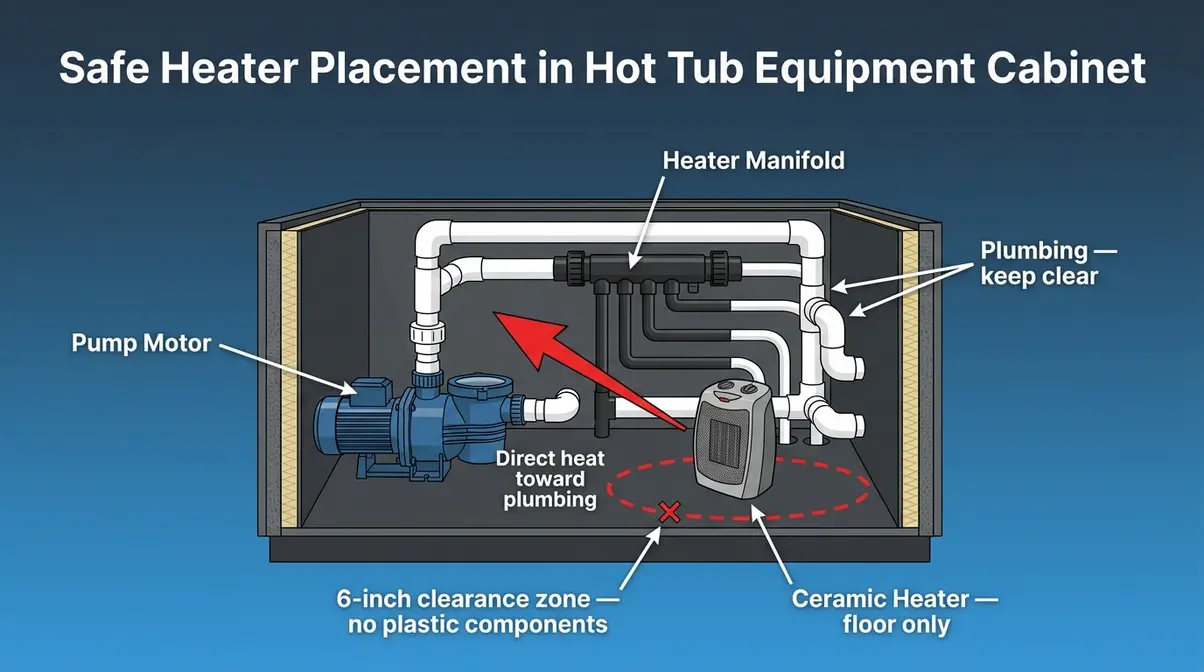
Safe Space Heater Use in Cabinet
A small ceramic space heater placed inside the equipment cabinet — away from plastic components and combustibles — can prevent pipe freezing during an extended power outage. This approach is recommended by hot tub technicians for outages where a generator or limited external power is available. The key is placement and heater type: the wrong heater in the wrong position creates a fire risk.
How to place the heater safely:
- Use only a ceramic space heater rated for enclosed spaces. A ceramic heater — a compact, self-regulating heating unit safer than conventional coil heaters near plastic components — self-limits its surface temperature, significantly reducing fire risk near the plastic plumbing and cabinet walls. Never use an open-coil or quartz heater.
- Place the heater on the floor of the equipment cabinet, pointed toward the pump and plumbing assembly. Keep it at least 6 inches from any plastic component, hose, or foam insulation. Never place it directly on plastic surfaces or resting against combustible materials.
- Set the heater to its lowest effective setting — the goal is to maintain the cabinet above 35°F (2°C), not to heat it aggressively. A low-wattage setting (750W or less) is sufficient for most enclosed equipment bays.
- Never leave a space heater running unattended for extended periods without periodic checks. Check every 4–6 hours that it has not shifted position or that condensation has not created a hazard.
⚠️ Electrical Safety Warning: You are placing an electrical device in an enclosed space near water lines and plastic components. Never place a heater directly on plastic components or near combustibles. Use only a ceramic heater rated for enclosed spaces. If you are uncertain about any aspect of this setup, contact a licensed hot tub technician before proceeding — the cost of a service call is far less than the cost of a fire or a ruined system.
Alternative: An incandescent light bulb. If a space heater is unavailable, a single 60–100W incandescent bulb suspended inside the equipment cabinet generates enough ambient heat to prevent freezing in temperatures above 10°F. Use a clip-on shop light with a ceramic socket rated for the wattage.
Submersible Pump Water Circulation
Moving water is significantly harder to freeze than still water. This is the principle behind one of the most effective — and least widely known — active freeze-prevention techniques: using a small submersible pump to keep the hot tub water in gentle circulation during a power outage.
A submersible pump — a small, waterproof pump that can be placed directly in the hot tub water — can be powered by a generator, a battery inverter, or even a car inverter in an emergency. It does not need to move large volumes of water; even slow circulation disrupts the thermal stratification that allows surface ice to form and spread inward toward the plumbing.
How to use a submersible pump during an outage:
- Select a small utility submersible pump (1/6 HP or smaller) rated for clean water use. Sump pumps work well for this purpose.
- Place it in the footwell of the hot tub, below the waterline. Do not place it near the main drain.
- Direct the outlet hose back into the water so it circulates rather than pumps out. Zip-tie or clip the outlet to the tub lip to prevent it from shifting.
- Run the pump continuously while the outage persists. The power draw is minimal — typically 150–300 watts — making it feasible on a small generator.
This method is particularly effective in the 10–20°F range, where passive retention is borderline and the risk of ice formation at the water surface is highest. Across professional hot tub forums, the consensus is that circulation extends the safe window by 12–24 hours beyond what passive retention alone provides.
Phase 3: Emergency Draining (Last Resort)
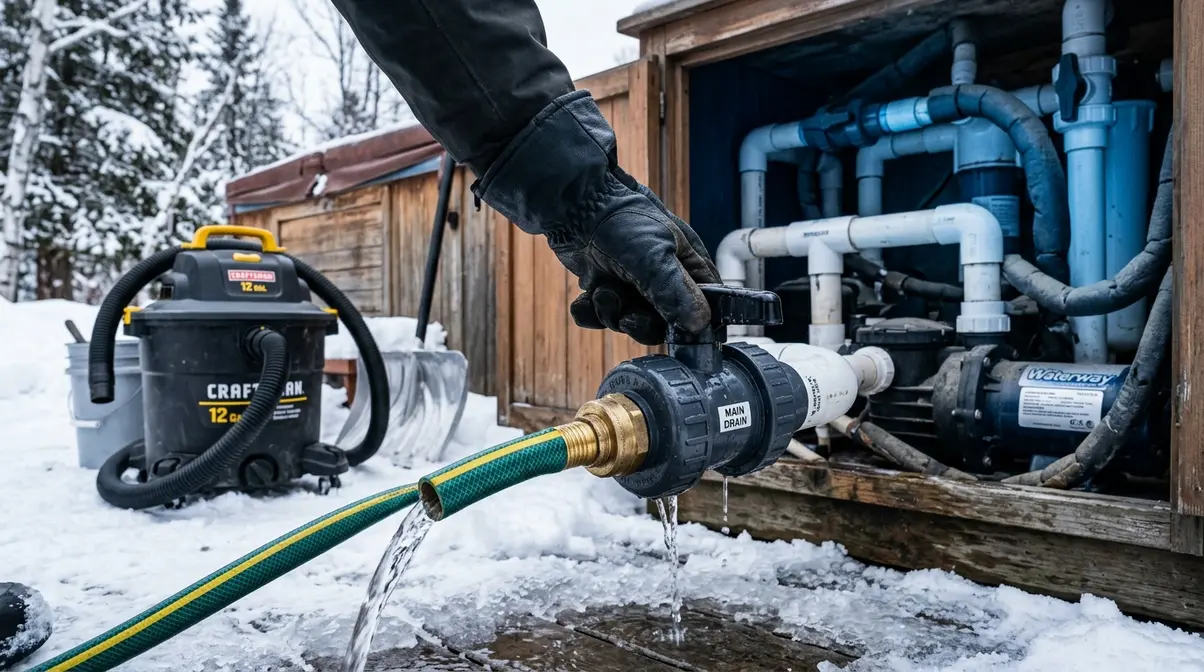
Draining your hot tub is a significant undertaking and should only be considered when the outage timeline and temperature data make it clear that freezing is unavoidable. Done correctly, a complete drain and line-blow protects your plumbing from catastrophic pipe damage. Done incorrectly — with water trapped in the jet plumbing — it can cause the exact damage you were trying to prevent.
Should I Drain My Tub in Winter?
Should I drain my hot tub if the power goes out in winter? Draining is a last resort, not a first response. A properly insulated tub with a sealed cover can safely hold heat for 2-3 days above 20°F — draining unnecessarily creates its own risks if not done completely, as trapped water in the jet plumbing can still freeze. Follow The 48-Hour Rule: only escalate to Phase 3 when the outage exceeds 48 hours, temperatures drop below 10°F, or your cover is damaged and cannot be sealed. When you do drain, the line-blowing step is not optional because gravity drainage alone leaves water in the plumbing that will freeze and crack your pipes.
When to Make the Drain Decision
Make the decision to drain when any two of the following three conditions are true:
- The outage has lasted — or is forecast to last — longer than 48 hours
- Ambient temperatures are at or below 10°F (−12°C)
- Your cover is damaged, missing, or cannot be sealed
According to guidance from Jacuzzi’s official power outage resource, draining the spa completely is the safest option when there is no way to maintain heat and the outage duration is uncertain. The risk of incomplete drainage — water trapped in the jet plumbing — is greater than the inconvenience of a full drain and refill.
If you are unsure about any step in this section, contact a licensed hot tub technician before proceeding. The drain procedure is straightforward, but the line-blowing step requires care.
Step-by-Step Hot Tub Draining Guide
You will need: A garden hose or submersible pump for draining, a wet/dry vacuum (shop vac), and access to the equipment cabinet. Allow 45–90 minutes total.
- Locate the main drain valve on the exterior of your hot tub, typically at the base of the equipment cabinet or on the tub’s lower shell. Most models have a 1.5-inch or 2-inch ball valve. Attach a garden hose to direct water away from the foundation.
- Open the main drain valve fully and allow the tub to drain by gravity. This typically takes 30–60 minutes for a 400–500 gallon tub.
- When gravity flow slows, use a submersible pump placed in the footwell to remove the remaining 20–30 gallons that the drain cannot reach. Get the tub as close to completely empty as possible.
- Open all jet valves fully while draining is in progress. This allows trapped water in the jet plumbing to drain back into the shell where it can be removed.
- Remove and drain the filter cartridge(s). Water trapped in the filter housing can freeze and crack the housing even after the main body is drained.
- Loosen (do not remove) the union fittings on the pump and heater manifold inside the equipment cabinet to allow any trapped water to drain out. These are the large plastic collar fittings on either side of each component.
Line-Blowing With a Wet/Dry Vacuum
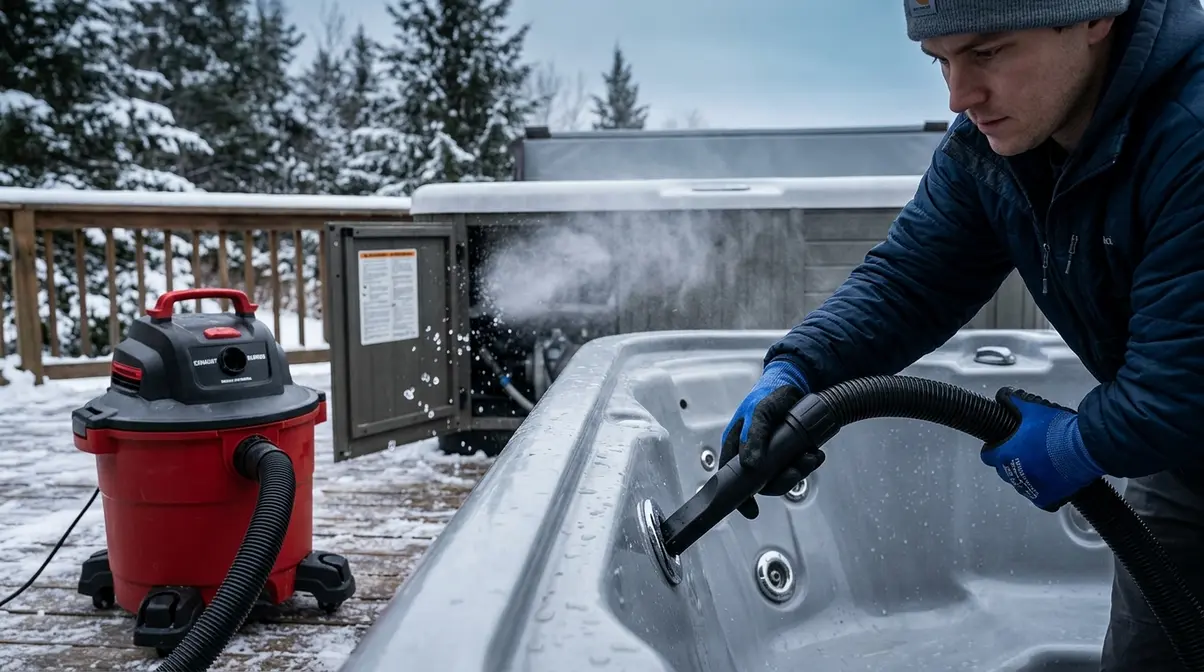
This is the most technically important step — and the one zero competitors cover in detail. Gravity drainage does not remove all water from the jet plumbing. Small amounts of trapped water in the horizontal runs and low points of the plumbing circuit will freeze and crack PVC fittings, even after a complete gravity drain. The solution is to blow the lines clear with a wet/dry vacuum (shop vac).
What you need: A wet/dry vacuum (shop vac) with a blower function, and optionally, non-toxic RV antifreeze — a propylene glycol-based solution safe for plumbing systems, unlike automotive antifreeze — to protect any residual moisture.
Line-blowing procedure:
- Switch your shop vac to blower mode (most units have a port on the side for exhaust/blowing).
- Place the shop vac hose against each jet opening in the tub shell, one at a time, and hold it firmly in place. The goal is to create enough air pressure to push residual water back through the plumbing and out through the equipment cabinet.
- Blow each jet for 20–30 seconds. You will hear air moving through the system and may see a small amount of water expelled at the equipment cabinet end.
- Work systematically — start at the jets farthest from the equipment cabinet and work toward it. This pushes water in the same direction as the plumbing flow.
- Blow through the main drain fitting as well, using the same technique.
- Optional — add RV antifreeze: After blowing, pour 1–2 cups of non-toxic RV antifreeze into each jet opening and the main drain. This protects any residual moisture in low points that the shop vac could not fully clear. Use only propylene glycol-based RV antifreeze — never ethylene glycol automotive antifreeze.
- Drain the heater manifold by opening the petcock drain on the heater body (if your model has one). Consult your owner’s manual for the heater drain location.
According to guidance from Teddy Bear Pools & Spas, completely draining and blowing out the plumbing is the only method that reliably protects hot tub plumbing from freeze damage when power cannot be restored in time.
Phase 4: Safe Hot Tub Restart Procedure
When power is restored, the temptation is to simply flip the breaker and let the system do its job. Resist that instinct. Powering on a system that has sustained freeze damage — even minor damage — can turn a hairline crack into a flooded equipment cabinet. A 10-minute inspection before restart prevents the most expensive mistakes.
Pre-Restart Immediate Safety Checks
Hot tub technicians who service units after freeze events consistently report that the majority of post-outage failures occur because owners restarted a damaged system before inspecting it. Complete these checks with the power OFF at the breaker.
- Open the equipment cabinet and visually inspect all plumbing fittings. Look for cracked PVC pipes, split hose connections, or fittings that have separated at the union joints. Freeze damage often appears as a visible crack or a fitting that is no longer seated flush.
- Check the pump housing and heater manifold for visible cracks. Run your hand along the top and sides of each component — even a hairline crack will feel rough or show a white stress line.
- Look for standing water inside the equipment cabinet. Any pooled water that wasn’t there before is evidence of a leak — either from a burst fitting or from condensation of a more serious failure. Do not power on until the source is identified.
- Inspect the shell interior for ice formation. If you see ice on the water surface or along the shell walls, the water has reached freezing temperature — do not restart until the ice has fully melted and the system has been inspected by a technician.
- If everything checks out, restore power at the breaker and monitor the system for the first 15–20 minutes of operation. Watch the equipment cabinet for any new drips or unusual sounds from the pump.
If you find cracked fittings, split hoses, or any evidence of freeze damage, do not attempt repairs yourself. Contact a licensed hot tub technician. Attempting to patch PVC plumbing under pressure without experience can create a worse failure.
Refilling and Restarting a Drained Tub
If you executed Phase 3 and drained the tub, follow this restart sequence after power is restored and the temperature is above freezing.
- Re-tighten all union fittings that were loosened during the drain procedure. Hand-tight plus a quarter turn is sufficient — overtightening cracks the plastic collars.
- Close all drain valves and confirm the main drain is fully closed before adding water.
- Fill the tub using the equipment cabinet fill port (the “standpipe” or filter housing fill point) rather than filling from the top of the shell. This method fills the plumbing from the bottom up, purging air from the lines and preventing air locks in the pump.
- Install a fresh filter cartridge before filling — the old one may have absorbed antifreeze or debris during the drain.
- Once filled, restore power at the breaker and allow the system to run through a full circulation cycle before using the spa. Check the equipment cabinet for leaks during the first 20 minutes of operation.
- Test and balance the water chemistry before use — the fresh fill will need pH, alkalinity, and sanitizer adjustment. Refer to AllPoolside’s winter hot tub guide for a complete startup chemistry checklist.
Common Mistakes That Can Make Things Worse
Even well-intentioned owners make errors during a freeze emergency. Knowing what NOT to do is as important as the correct procedure.
What Happens if a Hot Tub Freezes?
What happens if a hot tub freezes? When a hot tub freezes, expanding ice cracks PVC plumbing fittings, splits pump housings, and fractures the heater manifold — the most expensive components to replace. The equipment cabinet is the most vulnerable area because it is typically uninsulated on its exterior. Repair costs for freeze damage range from $500 to $3,000 or more for pump and heater replacement. In severe cases, the shell itself can crack, which is exactly why the drain-and-blow procedure in Phase 3 exists as a far less expensive alternative to freeze repairs.
Mistakes That Accelerate Freezing
Mistake 1: Opening the cover to “check on” the water. This is the single most common error. Every time the cover is lifted, the tub loses a measurable amount of heat. The water’s temperature is not something you can improve by looking at it — leave the cover closed and trust the insulation.
Mistake 2: Partially draining the tub to “reduce the freeze risk.” This is the opposite of helpful. Less water means less thermal mass, which means the remaining water cools faster. If you are not doing a full Phase 3 drain with line-blowing, keep every gallon in the tub.
Mistake 3: Adding automotive antifreeze to the water. This will not prevent freezing at any useful temperature and will corrode the plumbing, seals, and pump impellers. Non-toxic RV antifreeze is the only acceptable type — and only during a full drain procedure.
Mistake 4: Placing a space heater directly on or against plastic cabinet components. Even a ceramic heater can deform PVC fittings if placed in direct contact. Always position the heater on the floor of the cabinet with 6 inches of clearance from all plastic components.
Mistake 5: Skipping the line-blowing step after draining. A gravity drain alone does not clear trapped water from horizontal plumbing runs. This is the step that prevents the catastrophic pipe damage owners fear most — and the step most often skipped.
When to Call a Hot Tub Professional
Call a licensed hot tub technician immediately if any of the following are true:
- You find cracked PVC fittings, split hoses, or separated union joints during Phase 4 inspection
- The pump makes unusual noises (grinding, squealing) after restart — this indicates freeze damage to the impeller
- Water is leaking from the equipment cabinet after restart
- You are uncertain about any step in the Phase 3 drain or line-blowing procedure
- Your hot tub is more than 10 years old and has not been recently serviced — older plumbing is more vulnerable to freeze damage and less predictable in its behavior
The cost of a technician visit runs $75–$200 for most service calls. The cost of replacing burst PVC plumbing, a cracked pump housing, or a failed heater manifold runs $500–$3,000 or more. When in doubt, call.
Frequently Asked Questions
How long can a hot tub go without power before it freezes?
A well-insulated hot tub can go 48-72 hours without power before freeze risk becomes significant in temperatures above 20°F (−7°C). Below 20°F, that window drops to 24 hours or less, and below 0°F it may be as short as 8-12 hours. The U.S. Department of Energy notes that insulation quality and cover seal are the two biggest variables. An older tub with a worn cover may freeze in half the time of a modern well-insulated model. Use the Time-to-Freeze chart in this guide to identify your specific risk window.
Can I use a space heater to keep my hot tub from freezing during a power outage?
Yes — a ceramic space heater placed inside the equipment cabinet is an effective method for protecting pumps and pipes during an extended outage when limited power is available. Place the heater on the cabinet floor, at least 6 inches from all plastic components and combustibles, and set it to its lowest effective setting. Never use an open-coil or quartz heater near plastic plumbing. If you have no power source at all, the incandescent bulb method (a 60–100W bulb in a clip-on shop light) is a lower-risk alternative for temperatures above 10°F.
Will a thermal blanket help keep my hot tub from freezing?
Yes, a floating thermal blanket significantly reduces heat loss at the water’s surface. By adding an extra layer of insulation between the water and the main cover, it traps existing heat and slows the temperature drop. This simple addition can noticeably extend your safe window during an extended power outage.
Can I use a generator to run my hot tub in a power outage?
Yes, if you have a portable generator with sufficient wattage (typically 5,000W+ for a 240V tub), you can power the circulation pump and heater. However, for smaller generators, running a submersible pump or a small ceramic heater is a much more realistic and fuel-efficient option. This approach draws minimal power while still actively protecting your plumbing.
Protecting Your Investment Before the Next Outage
A power outage in sub-freezing temps is one of the few genuine emergencies a hot tub owner faces — but it is a manageable one when you have a clear protocol. The 48-Hour Rule gives you a decision threshold that eliminates guesswork: passive retention under 48 hours and above 20°F, active intervention when either threshold is crossed, and a complete drain-and-blow when both are exceeded. Hot tub technicians who service units after freeze events consistently emphasize that the owners who avoid catastrophic pipe damage are the ones who acted in the first hour — not the ones who waited to see what happened.
The 48-Hour Rule works because it matches the action to the actual risk level. You are not draining a perfectly safe tub unnecessarily, and you are not sitting on your hands while pipes approach freezing temperature. Every phase in this guide is calibrated to that principle.
Your immediate next step: check the temperature forecast for the next 72 hours and identify which phase applies to your situation right now. If you are already in Phase 1, complete all eight steps before you do anything else. If you are already in Phase 2 or Phase 3 territory, start there. The earlier you act, the more options you have — and the less likely you are to be facing a $2,000 repair bill when the power finally comes back on.
*Additional resources coming soon.

David King
Hot tub tester and writer at One Hot Tub.