Table of Contents - How To Measure For A Hot Tub Cover
This blog post may contain affiliate links. As an Amazon Associate I earn from qualifying purchases.
How To Measure For A Hot Tub Cover
Why Accurate Hot Tub Cover Measurements Matter
Energy efficiency and cost savings
properly measured coverBosch BLAZE GLM 20Do’s and Don’ts for Energy Efficiency
| Do | Don’t |
|---|---|
| Measure the actual hot tub shell, not the old cover | Guess measurements or round to nearest inch |
| Add proper overlap for the skirt (2-3 inches typically) | Ignore corner radius measurements |
| Ensure the cover sits flat with no gaps | Use a warped old cover as your measurement guide |
Preventing water and chemical loss
chemical balanceStarrett Combination Square Set
Tools You’ll Need to Measure a Hot Tub Cover
Recommended measuring tools from Amazon
- Digital Tape Measure – The Bosch BLAZE GLM 20 ($49.99) is a game-changer with its 1/16 inch accuracy! Those tiny hot tub dimensions won’t stand a chance. Plus, its backlit display is perfect for evening measuring sessions when your outdoor spa area isn’t exactly bathed in light.
Feature Benefit Digital precision Eliminates human error in reading measurements Memory function Stores measurements for easy reference Compact size Easily maneuvers around hot tub corners Weather resistance Suitable for outdoor use in various conditions - Flexible Measuring Tape – Grab the Stanley PowerLock 25-Foot Tape Measure ($12.97) for those curvy spots! It stays rigid when extended so you can tackle those measurements solo – no need to recruit a reluctant family member to hold the other end!
- Radius Measuring Templates – The Starrett Radius Gage Set ($19.95) is like having corner-measuring superpowers! These templates take all the guesswork out of figuring out exactly how curvy your hot tub corners really are.
- Notepad and Pencil – Simple but mighty! The weatherproof Rite in the Rain All-Weather Notebook ($8.95) laughs in the face of splashes and humidity. Your measurements stay safe even when surrounded by water!
Pro Tip
Why a carpenter’s square is essential
Do’s and Don’ts of Using a Carpenter’s Square
| Do | Don’t |
|---|---|
| Position the square flush against corners | Estimate corner measurements without proper tools |
| Use both inside and outside edges for different measurements | Rely solely on tape measures for corners |
| Mark measurement points directly on the square temporarily | Bend flexible measuring tapes around corners |
| Verify measurements multiple times | Rush through the corner measurement process |
- Perfect 90-degree reference – Is that corner truly square or slightly rounded? Now you’ll know for sure!
- Corner radius measurement – Just slide paper under the curve, trace along the edge, and voilà – exact corner curve captured!
- Skirt depth precision – That little depth ruler attachment perfectly measures how far down your cover should hang
- Template creation – Creating patterns for uniquely-shaped tubs becomes child’s play with perfect right angles
Step-by-Step Guide: How to Measure for a Hot Tub Cover
Step 1: Measure the length and width
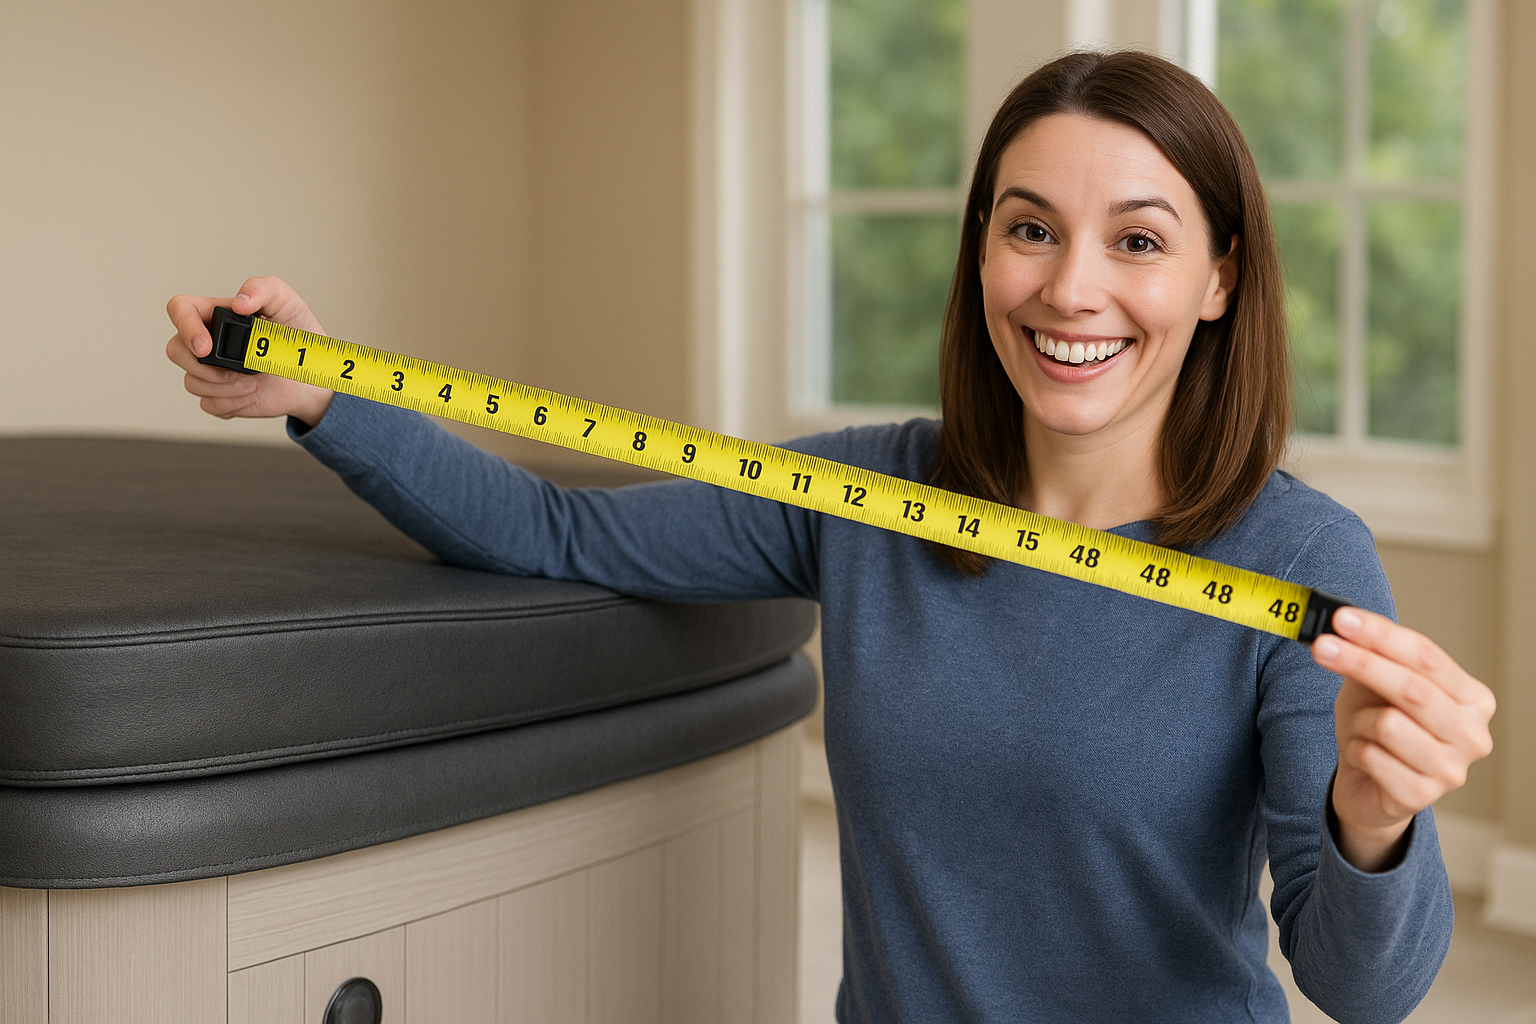
- Stretch your tape measure across the top of your spa, from lip to lip
- Always measure from outside edge to outside edge (that’s the widest part!)
- Jot down those numbers to the nearest ⅛ inch (precision matters here!)
- Double-check yourself by measuring again (trust but verify!)
Pro tip
Step 2: Measure the corner radius
- Place your carpenter’s square snugly against the corner
- Slip a piece of paper underneath where the curve begins
- Trace along that curved edge onto your paper
- Measure from the square’s corner to where your traced line intersects
Step 3: Measure the skirt length
- Hold your tape measure vertically starting at the top lip of your hot tub
- Extend downward to where you want the cover to end (usually 2-3 inches does the trick)
- Write down each side separately – sometimes they’re not all the same!
Step 4: Measure the safety straps
- Measure how far apart the straps sit (usually on opposite sides)
- Note where the strap anchors attach to your hot tub cabinet
- Determine ideal strap length for easy buckling without stretching or sagging
Step 5: Add buffer space for shrinkage
- Add ¼ inch to both length and width measurements for vinyl covers
- For those uniquely-shaped tubs, add a generous ½ inch for manufacturing wiggle room
- Keep these final buffered measurements handy when ordering
Do’s and Don’ts Table for Measuring
| Do | Don’t |
|---|---|
| Measure the actual tub, not the old cover | Round measurements to nearest inch |
| Take multiple measurements for verification | Assume all corners have same radius |
| Measure at the widest points | Guess the skirt length |
| Account for material shrinkage | Measure a warped old cover |
| Use proper measuring tools | Ignore slight variations in shape |
| Photograph your measurement process | Rush through measurements |
When to Measure the Tub vs. the Old Cover
Pros and cons of each method
Pros and Cons of Measurement Methods
Method
- Measuring the Hot Tub
- Measuring the Old Cover
Pros
- • Most accurate dimensions• Accounts for true shell design• Eliminates accumulated errors
- • Quicker process• Shows exact size that previously fit• Easier to trace unusual shapes
Signs your old cover is unreliable
Do’s and Don’ts for Evaluating Your Old Cover
| Do | Don’t |
|---|---|
| Compare old cover measurements with actual tub | Rely solely on visibly damaged covers |
| Check for symmetry across all dimensions | Assume minor sagging won’t affect measurements |
| Examine corner radii for distortion | Use covers older than 3-5 years as templates |
| Verify straight edges are truly straight | Ignore discoloration patterns that indicate warping |
- Water pooling – See little puddle parties forming on top? That’s a sure sign of structural collapse underneath
- Uneven edges – Notice gaps when placed on the tub? Your cover has likely shrunk or warped
- Material discoloration – Spotty fading patterns aren’t just a fashion statement – they signal uneven exposure and distortion
- Visible cracks – Especially along those fold lines – they’re basically neon signs saying “internal breakdown here!”
- Surprising heaviness – If your once-light cover now feels like you’re lifting a small car, water-logged foam cores are changing its dimensions
Troubleshooting Common Measurement Mistakes
What to do if your cover doesn’t fit
- Confirm your measurements – Dust off those original notes and double-check every number
- Identify the specific fitting issue – Too big? Too small? Corner curves all wrong?
- Contact the manufacturer – Many offer adjustment options if you reach out within 30 days
- Document the problems – Snap clear photos showing those gaps or awkward overlaps
Do’s and Don’ts for Handling Ill-Fitting Covers
| Do | Don’t |
|---|---|
| Take detailed photos of fitting issues | Attempt to force an ill-fitting cover |
| Keep all original packaging | Trim the cover yourself without expert guidance |
| Contact manufacturer immediately | Assume minor fit issues will resolve themselves |
| Request adjustment guidelines | Discard your measurement notes |
How to fix incorrect radius measurements
- Grab the OLFA 18mm Fiberglass-Reinforced Utility Knife ($14.99) for careful corner rounding
- Make a template using cardboard pressed against your actual tub corner
- Mark your cutting lines precisely—measure twice, cut once!
- Smooth those freshly cut edges with fine-grit sandpaper
- Sadly, you can’t magically add material where there isn’t any
- Corner caps or custom foam inserts can fill those annoying gaps
- The Frost King Vinyl Foam Weather-Seal ($7.97) makes a great temporary fix
Final Thoughts – Never Make a Costly Hot Tub Cover Mistake Again!
FAQs
Q1. How important is an exact fit for a hot tub cover?Q2. What measurements do I need to take for a hot tub cover?Q3. How do I measure the corner radius of my hot tub?Q4. What’s the best way to measure an irregularly shaped hot tub?Q5. Should I measure my old cover or the hot tub itself?


